Alright, so I wish I was coming back from my impromptu blogging hiatus with a more exciting post, but I’m not. It may not have the prettiest photos or be the most fun to read, but I searched the entire internet for posts like this as we were gearing up for this project and they’re sadly lacking – so I want to document this for anyone else who might take this on in the future.
With that disclaimer out of the way, let’s get to it. A few months back, Corey and I replaced the flooring in our dining room – it was a major change and we’ve been very happy with it. Our goal was to get the living room done as well before summer ended, because Jackson has been spending more and more time on the floor lately and we hated to have him on that nasty carpet.The only problem with tackling the living room was all of the tile – there was a small spot of tile in front of the fireplace and a larger area by the entryway…and we were terrified of getting it up.


My sister and brother in law took this project on a couple of summers ago, and we have heard nothing but horror stories about how tough it was to get the tile up, how long it took, and how much they hated the entire process. So needless to say, we weren’t looking forward to it. But, as much as we weren’t excited about it, summer is quickly coming to an end so we decided to get it done last week. My sister emphasized to us that we needed to get some sort of a power tool to get it up rather than doing it all by hand, so we knew we wanted to start there. We headed to Home Depot (we chose them over Lowe’s this time because they’ll rent tools and Lowe’s won’t) and asked the guy at the tool rental department what he recommended. He pointed us to a demolition hammer with a chisel bit (for getting the tile up) and a scraper bit (for the thinset). It was a bit pricey (about $100) to rent it all for the day, but we figured if it made the job easier, it was well worth it.
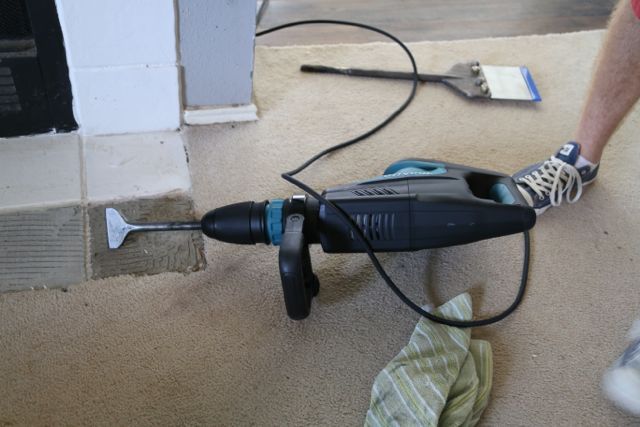
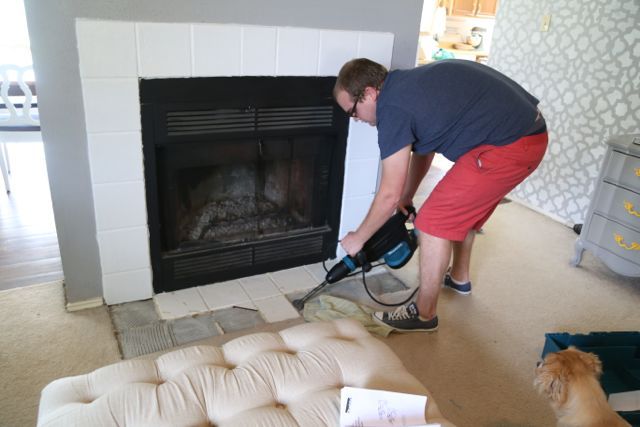
I could practically end this post here and just call it a day – I’m telling you, that tool was amazing. Most of the blog posts and tutorials I read prior to renting the tool didn’t seem to give us much hope – people mostly seemed to just use a plain hammer and chisel to get rid of the tile and thinset, or they didn’t elaborate on what they did. Let me tell you again – the demolition hammer is the way to go.
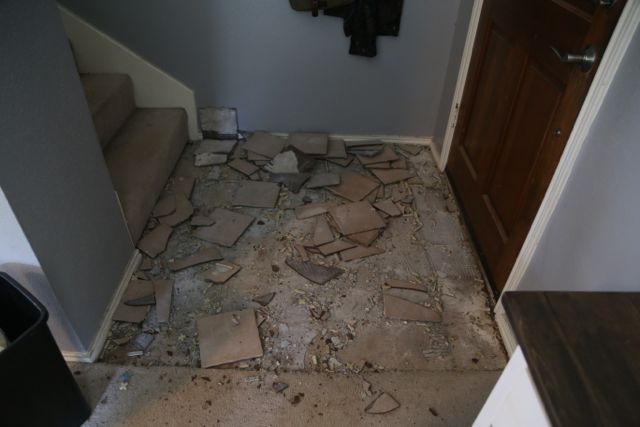
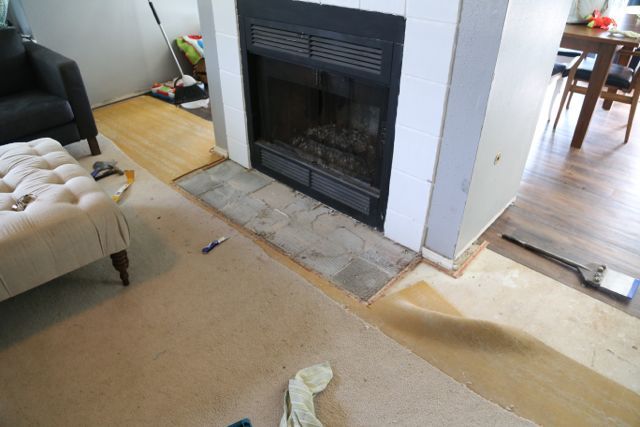
It was noisy and messy to get all of the tile up, but Corey got everything up and smoothed out about an hour – it didn’t mess up the concrete foundation at all, and thanks to how smooth it left the concrete there was no other prep work for us to do besides cleaning up. It was fabulous! Once we had all the tile up, we ripped up all of the carpet in the room – while we still had the tool, we also used it to smooth out any weird areas of concrete that were bumpy or would otherwise interfere with the flooring. It was exhausting (and disgusting) but soon enough, we had a carpet-less living room…and a giant mess.
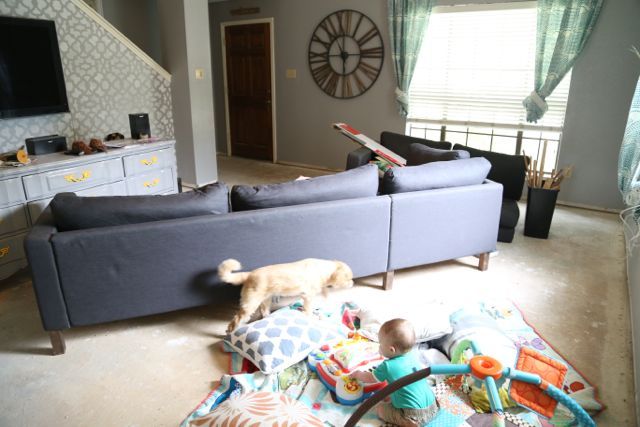
And here’s where I’ll leave you because I haven’t gotten around to taking photos of the finished room yet. But it is finished, and I’m in love! I’ll take photos soon and hopefully be back next week to show it off – it’s looking amazing!
Okay, anyone have any fun house updates? Up to anything exciting lately?


